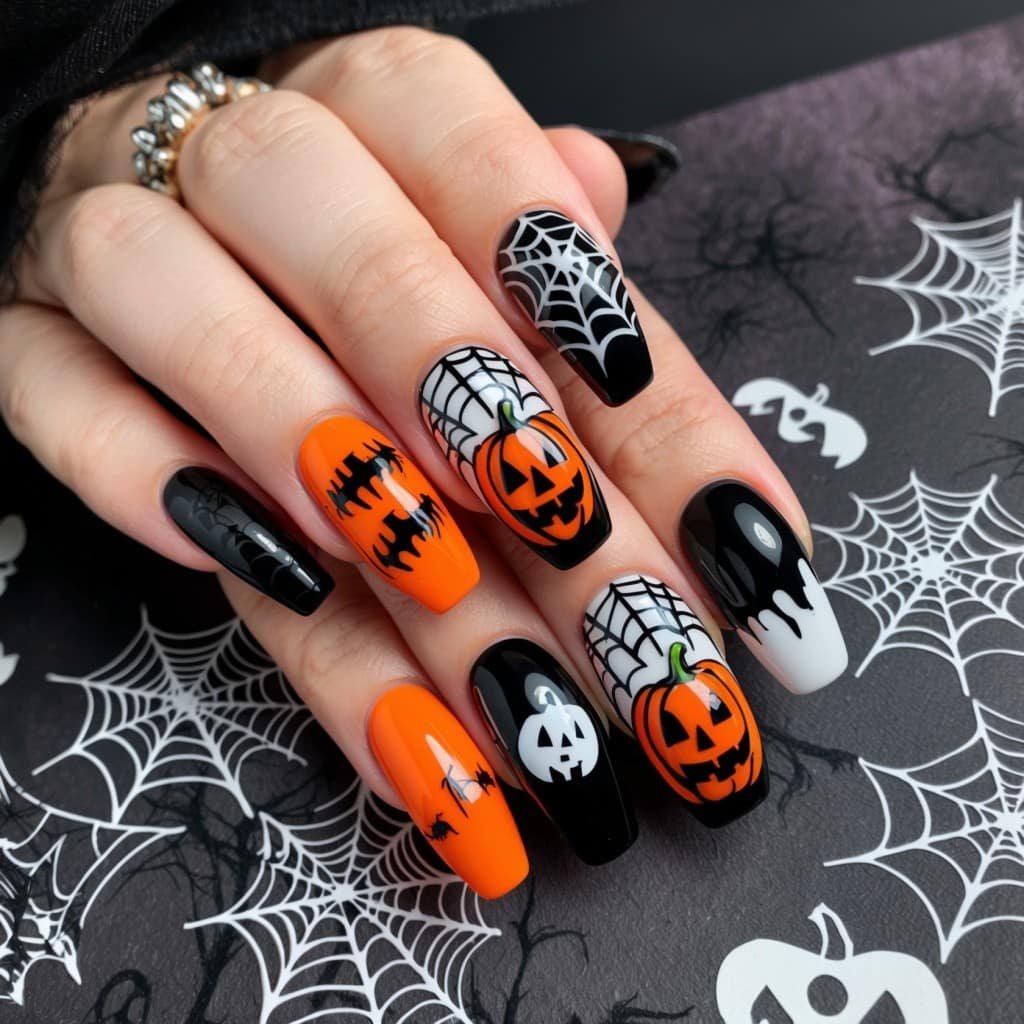
Halloween is the season where you can let your imagination run wild, and your nails are no exception. Halloween acrylic nails offer the perfect canvas to showcase your spooky creativity, from intricate designs to bold, statement-making colors. But why should you opt for acrylic nails this Halloween? Acrylic nails are durable, long-lasting, and provide a sturdy base for detailed artwork, making them ideal for showcasing those ghoulishly delightful designs.
Why Choose Acrylic Nails for Halloween?
Acrylic nails stand out for their durability and the ease with which they can be shaped and styled. They’re perfect for achieving the long, sharp claws of a witch or the elegantly pointed nails of a vampire. Plus, with acrylics, your Halloween designs are less likely to chip or fade, ensuring that your spooky manicure lasts throughout the season.
The Popularity of Halloween-Themed Nail Art
Halloween nail art has exploded in popularity in recent years. With more people looking for creative ways to celebrate, nails have become a small yet impactful way to express your Halloween spirit. From social media influencers to everyday nail enthusiasts, everyone is jumping on the Halloween nail art bandwagon. It’s not just about dressing up anymore—your nails can be part of your costume, too!
Getting Started with Halloween Acrylic Nails
Before diving into the fun part—designing your nails—you need to start with the basics. Here’s what you need to know to get started with Halloween acrylic nails.
Choosing the Right Nail Shape
The shape of your nails sets the foundation for your Halloween design. Popular shapes for Halloween include stiletto, coffin, and almond. Stiletto nails, with their sharp points, are perfect for a witchy look, while coffin nails provide a broader canvas for more intricate designs like haunted houses or graveyards.
Essential Tools and Materials
To achieve the best Halloween acrylic nails, you’ll need a few essential tools:
- Acrylic powder and liquid: These form the base of your nails.
- Nail forms or tips: Depending on how you want to extend your nails.
- Nail file and buffer: To shape and smooth your nails.
- Nail brush: For applying the acrylic mixture.
- Halloween-themed nail polish and art supplies: Think black, orange, green, and purple polishes, plus any decals, gems, or stickers you want to use.
Preparing Your Nails for Acrylic Application
Preparation is key to long-lasting acrylics. Start by cleaning and filing your nails. Push back your cuticles and remove any excess skin. Apply a dehydrator and primer to ensure that the acrylic adheres properly. This step is crucial for preventing lifting and ensuring your Halloween design stays intact.
Top Halloween Acrylic Nail Designs
The fun part—choosing your design! Here are some top ideas to inspire your Halloween acrylic nails.
Spooky Spider Webs
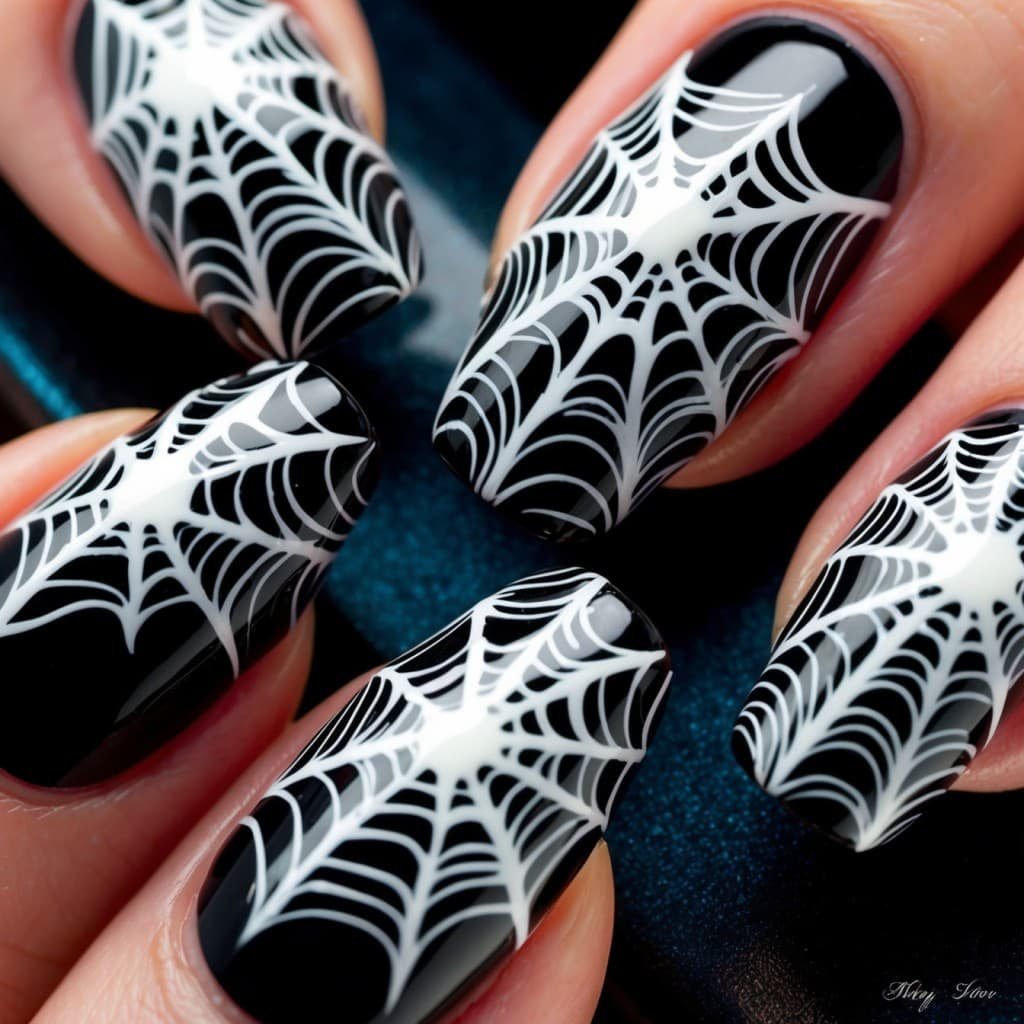
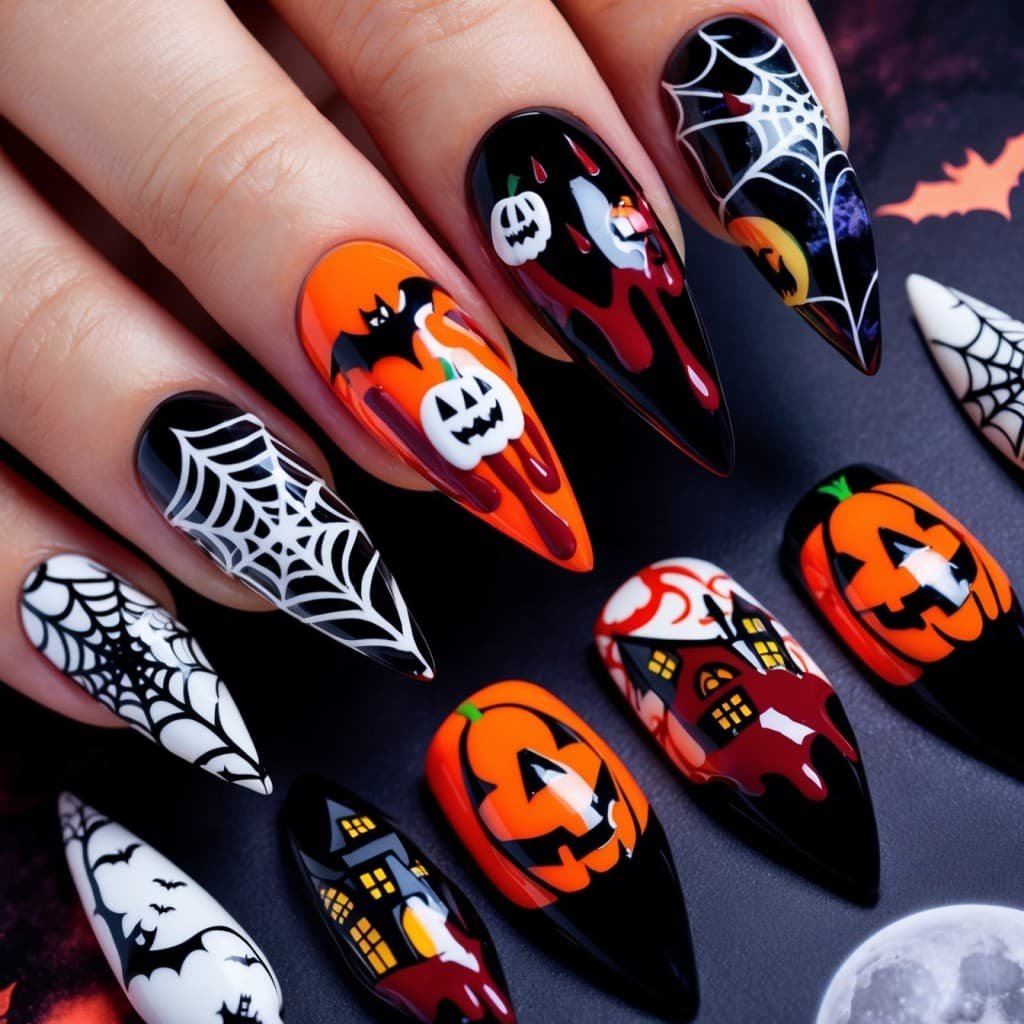
Spider webs are a Halloween classic. You can go for a simple white web on a black background or mix it up with glittery threads and tiny spider decals. These nails are perfect for anyone who loves a creepy-crawly aesthetic.
Haunted House Nails
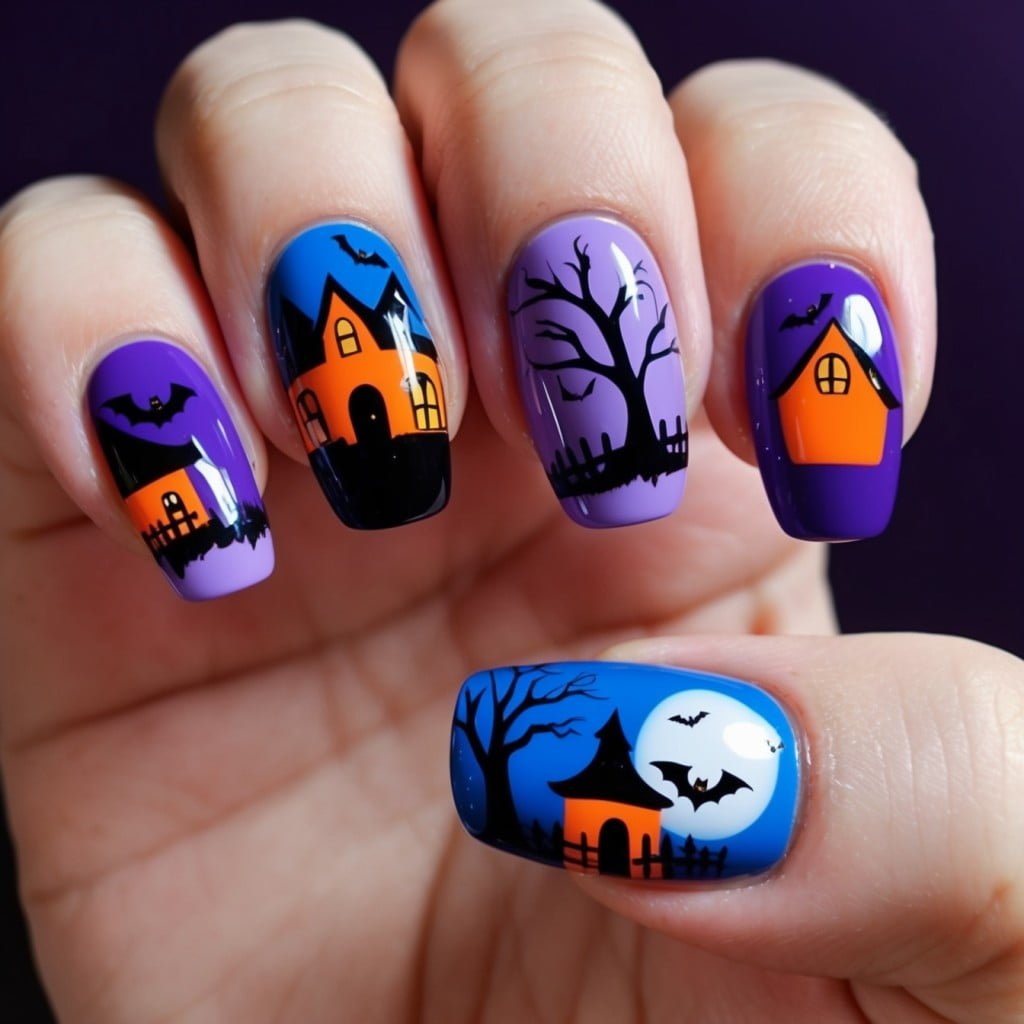
Turn your nails into a tiny haunted house scene. Use dark, moody colors like deep blues and purples as your base. Add in silhouettes of haunted houses, bats, and ghosts for a truly eerie effect. This design is perfect for those who love Halloween but want to keep their nails elegant and artistic.
Classic Pumpkin Designs
Nothing says Halloween like a pumpkin! Whether you opt for a simple jack-o’-lantern face or a more detailed pumpkin patch, this design is always a crowd-pleaser. Use bright orange polish for the pumpkins and add some green vines or leaves to complete the look.
Glamorous Gothic
For those who want to keep it chic, go for a glamorous gothic look. Think black lace patterns, deep red roses, and metallic accents. This design is perfect for pairing with a vampire or gothic costume, adding a touch of sophistication to your spooky ensemble.
Blood Drip Nails
Create a hauntingly realistic blood drip effect with red polish. Start with a nude or white base and carefully paint on red drips from the tips of your nails. This design is simple yet effective, adding a gruesome touch to your Halloween look.
How to DIY Halloween Acrylic Nails
Feeling brave enough to try these designs at home? Here’s how you can DIY your own Halloween acrylic nails application guide.
Step-by-Step Guide to Applying Acrylics
- Prep Your Nails: Follow the preparation steps mentioned earlier.
- Apply the Tips or Forms: Choose the length and shape you desire.
- Mix the Acrylic: Combine the acrylic powder and liquid, and apply it over your nail forms or tips.
- Shape and File: Once the acrylic has dried, shape your nails with a file.
- Paint and Design: Apply your base colors and let your creativity flow with Halloween designs.
- Seal with a Top Coat: Finish with a clear top coat to protect your artwork.
Tips for Perfecting Your Halloween Nail Art
- Practice Makes Perfect: Nail art can be tricky, so practice on a few fake nails first.
- Use Thin Layers: When applying polish or acrylic, thin layers prevent clumping and help the nails dry faster.
- Seal Every Design: Always finish with a top coat to lock in your design and add shine.
Common Mistakes to Avoid
- Skipping the Primer: Without primer, your acrylics are likely to lift.
- Using Too Much Acrylic: Thick layers can lead to uneven nails.
- Not Letting Layers Dry: Patience is key; let each layer dry before adding another.
Caring for Your Halloween Acrylic Nails
Once your Halloween nails are complete, you’ll want to keep them looking fresh all season long.
Daily Maintenance Tips
Avoid using your nails as tools, and wear gloves when doing household chores. Moisturize your hands regularly to keep the skin and cuticles healthy.
How to Prolong the Life of Your Acrylics
Consider applying a fresh layer of top coat every few days to protect your design. Avoid exposing your nails to harsh chemicals, as they can weaken the acrylic.
When and How to Remove Your Halloween Nails
After Halloween, you might want to remove your acrylics. Soak your nails in acetone for 15-20 minutes to dissolve the acrylic, then gently remove them with an orange stick. Avoid pulling or forcing them off to prevent damaging your natural nails.
Where to Find Inspiration for Halloween Nails
If you’re stuck on design ideas, there are plenty of places to find inspiration. For a curated list of spooky nail styles you should try this year, check out Halloween Nails: Spooky Styles to Try This Year
Social Media Platforms
Instagram and Pinterest are gold mines for nail art inspiration. Search hashtags like #HalloweenNails or #AcrylicNailArt to find the latest trends.
Nail Art Blogs and Websites
Many nail artists share their designs and tutorials on personal blogs and websites. These are great resources for step-by-step guides and tips.
Seasonal Nail Art Competitions
Nail art competitions, especially those held around Halloween, are fantastic for discovering new and innovative designs. Many competitors share their work online, providing endless inspiration.
Professional vs. DIY Halloween Acrylic Nails
When deciding whether to visit a salon or do your nails at home, consider the pros and cons of each option.
Benefits of Going to a Salon
A professional nail artist can bring your Halloween vision to life with precision and expertise. Salons also have access to high-quality tools and products, ensuring your nails look flawless.
Why DIY Might Be the Better Option for You
DIY nails allow for complete creative control. Plus, it can be more budget-friendly and convenient. With a little practice, you can achieve salon-quality nails at home.
Choosing the Right Colors for Halloween Nails
Color plays a huge role in setting the tone for your Halloween nails.
Traditional Halloween Colors
Orange, black, purple, and green are the classic Halloween colors. These shades instantly evoke the spooky spirit of the season.
Modern and Unique Color Palettes
For a modern twist, consider incorporating metallics, deep reds, or even pastels. These colors can add a chic, contemporary vibe to your Halloween nails.
Tips for Blending and Matching Colors
Use complementary colors for a cohesive look, and consider using gradients or ombre techniques to blend colors seamlessly.
Incorporating 3D Elements into Your Halloween Nails
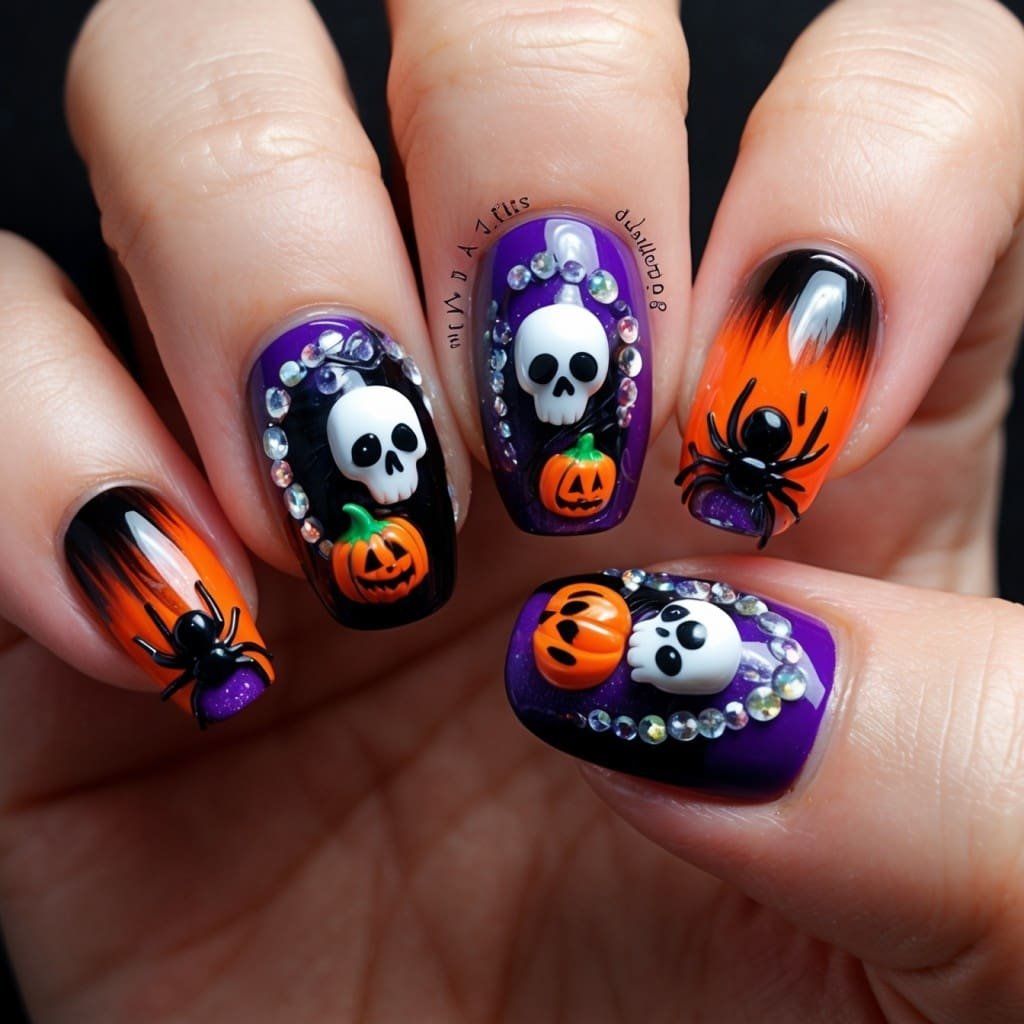
Want to take your nails to the next level? Try adding 3D elements to your design.
Popular 3D Halloween Nail Accessories
Skulls, spiders, and even tiny pumpkins can be attached to your nails for a 3D effect. These elements add texture and depth to your design, making them stand out.
How to Apply 3D Elements
Use nail glue to attach the 3D elements to your nails. Apply a generous amount of top coat around the edges to secure them in place.
Pros and Cons of 3D Nail Art
While 3D nail art is eye-catching, it can be less practical for everyday wear. Be mindful of the size and placement of 3D elements to ensure they don’t interfere with daily activities.
Best Halloween Nail Products on the Market
Achieving the perfect Halloween acrylic nails starts with the right products.
Top Acrylic Brands
Brands like Mia Secret and Young Nails are known for their high-quality acrylics that are easy to work with and long-lasting.
Best Nail Polishes for Halloween
Essie, OPI, and China Glaze offer a wide range of Halloween-themed polishes. Look for limited edition collections around October for the best shades.
Must-Have Tools for Nail Art
Invest in a good set of nail art brushes, dotting tools, and stamping plates to help you create intricate designs with ease.
How to Make Your Halloween Nails Last
You’ve put in the effort to create stunning Halloween nails—now let’s make sure they last.
Sealing Your Designs
Always finish with a high-quality top coat. This not only seals your design but also adds shine and prevents chipping.
Avoiding Chips and Cracks
Be mindful of your nails when typing, opening packages, or doing any activity that could cause damage. Wearing gloves when necessary can help protect your manicure.
What to Do If Your Acrylics Break
If you experience a break, don’t panic. Use nail glue to temporarily fix the issue until you can properly repair or replace the nail.
Trendy Halloween Nail Ideas for 2024
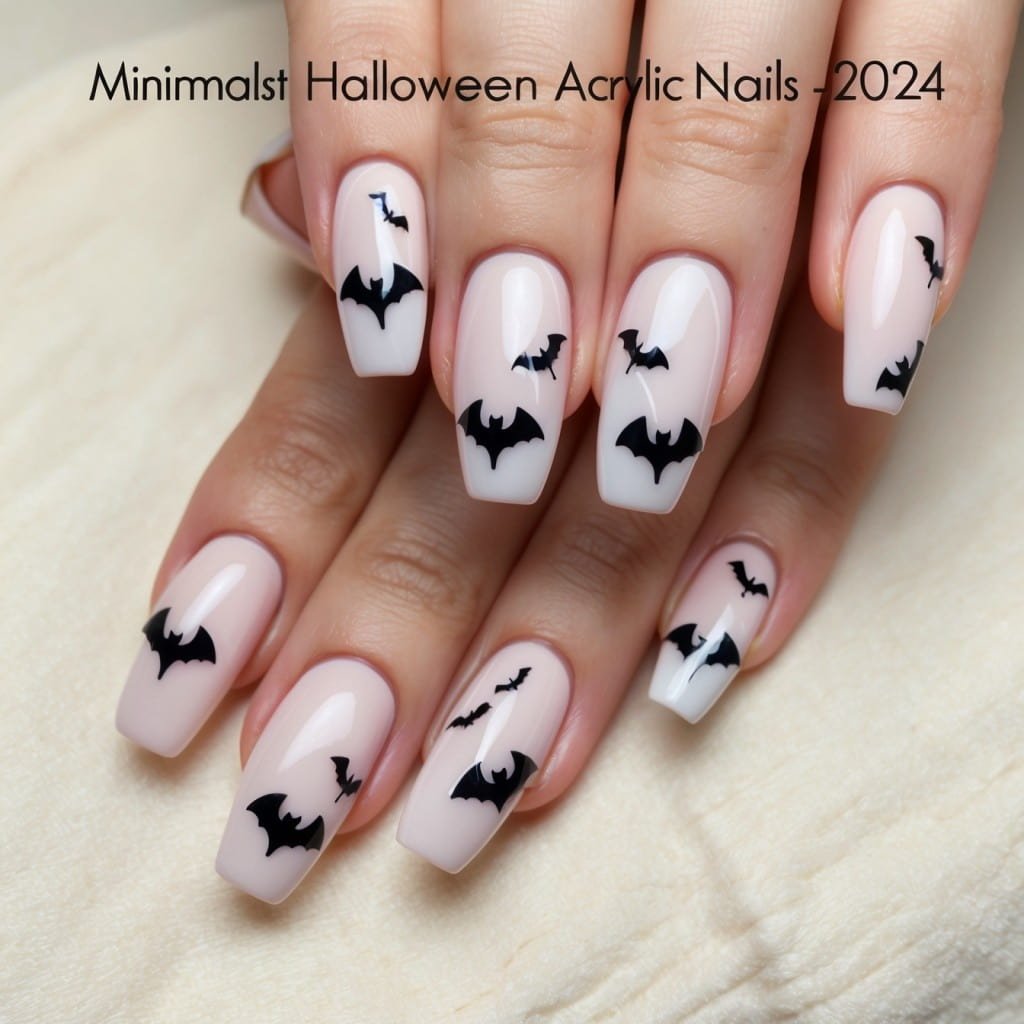
Looking to stay ahead of the trends? Here’s what’s hot for Halloween nails in 2024.
What’s Trending This Year?
Expect to see a rise in minimalist designs with a spooky twist. Think negative space combined with subtle Halloween elements like tiny bats or ghosts.
Predictions for Future Halloween Nail Trends
As nail art continues to evolve, we predict a move towards more personalized designs, with people incorporating their own unique takes on Halloween themes.
Safety Tips for Applying Acrylic Nails
It’s important to prioritize safety when working with acrylics.
How to Avoid Allergic Reactions
Always use hypoallergenic products if you have sensitive skin. Do a patch test before applying any new product to your nails.
The Importance of Good Ventilation
Acrylic products can produce strong fumes, so work in a well-ventilated area to avoid inhaling harmful chemicals.
Keeping Your Nails Healthy Underneath
Regularly moisturize your nails and cuticles to keep them healthy. Avoid wearing acrylics for extended periods without breaks to allow your natural nails to breathe.
Frequently Asked Questions About Halloween Acrylic Nails
Are Acrylic Nails Safe?
Yes, acrylic nails are generally safe when applied and removed correctly. However, improper application or removal can cause damage to your natural nails.
How Long Do Halloween Acrylic Nails Last?
With proper care, Halloween acrylic nails can last up to 2-3 weeks.
Can You Reuse Halloween Nail Art?
Some elements, like decals or charms, can be reused if removed carefully. However, most designs are meant for one-time use.
Can You Change the Design on Acrylic Nails?
Yes, you can repaint or redesign your acrylic nails, but be cautious not to damage the underlying acrylic.
How Do I Remove Acrylic Nails Without Damaging My Natural Nails?
Soak your nails in acetone for 15-20 minutes, then gently push off the acrylic with an orange stick. Avoid prying or pulling to prevent damage.
Conclusion
Halloween acrylic nails are a fantastic way to celebrate the season with a dash of creativity and a splash of style. Whether you choose to DIY or visit a professional, the possibilities are endless. So go ahead, unleash your inner spooky chic, and let your nails make a statement this Halloween!

1 Comment